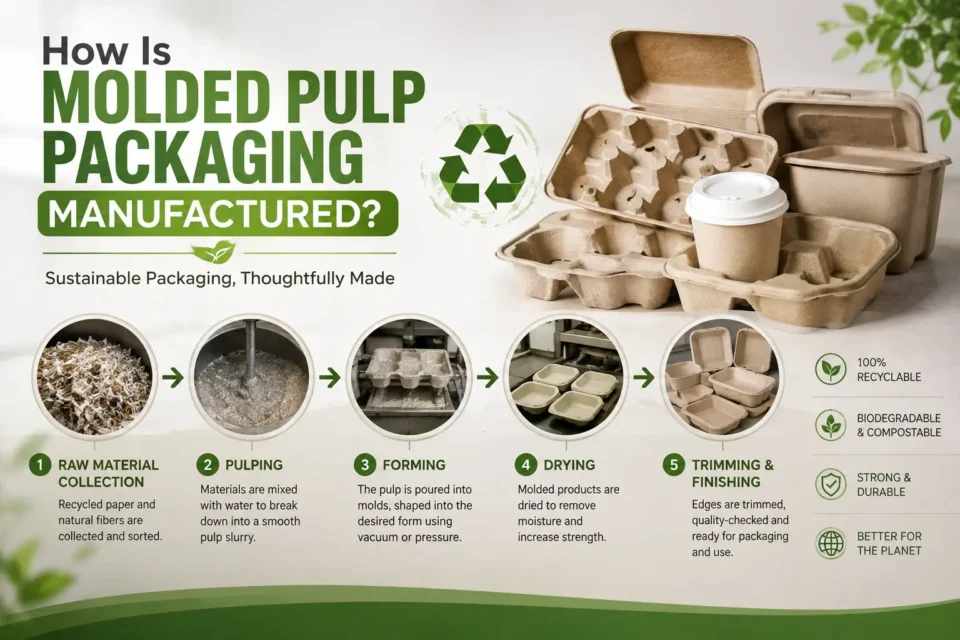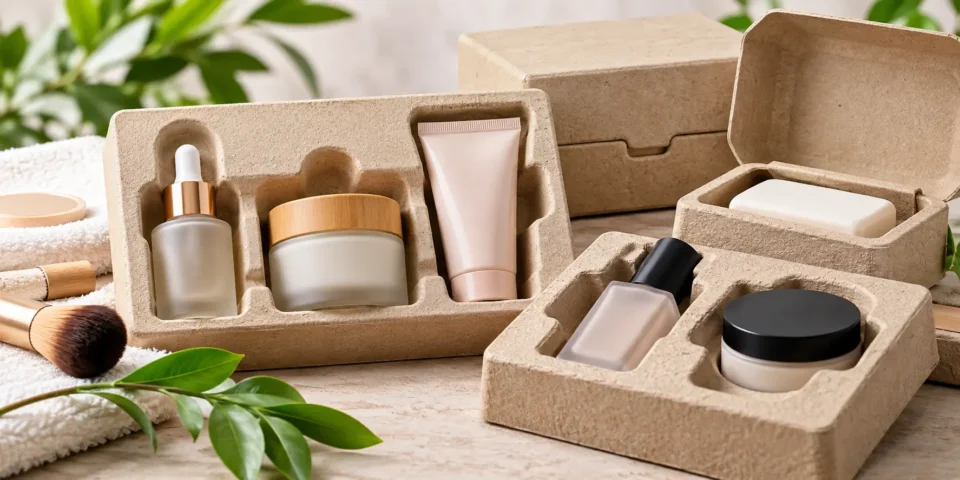
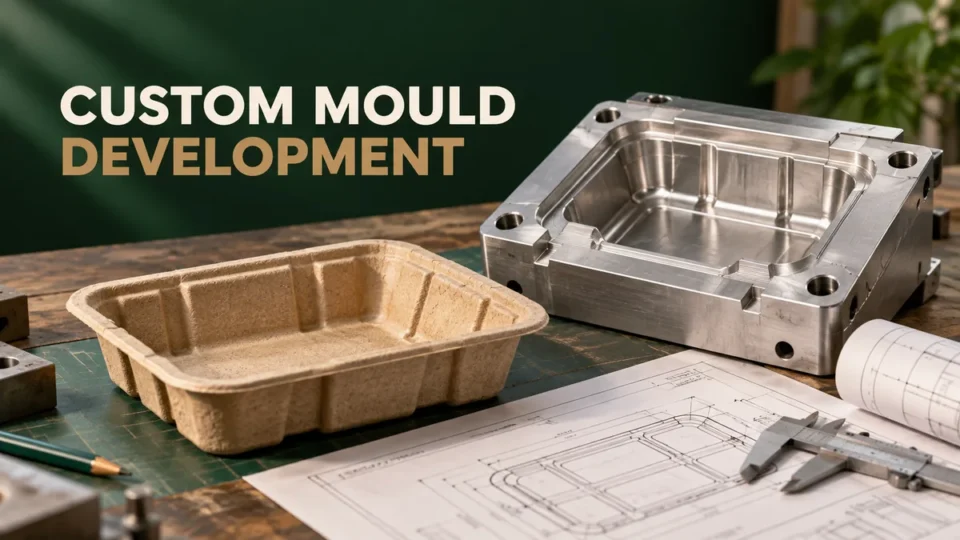
If you have a product that needs its own packaging shape, a custom molded pulp tray or insert is one of the most sustainable options available. But first-time buyers often ask the same questions. How long does it take? What do I need to provide? What happens at each stage, and where can things go wrong?
This guide walks you through the full custom mould development process, from your first brief to mass production and shipping, so you can plan launch dates with confidence.
Why Custom Moulds Are Needed
Standard trays fit standard products such as eggs or fruit. Products like electronics, cosmetics, wine bottles, medical devices and automotive parts have unique shapes. They need exact-fit cavities that hold the item still during transport. A well-designed insert prevents movement, absorbs shock and often reduces the outer carton size. Our custom molded pulp tray export case study shows how this works in a real export project.
Step 1: Requirement Brief
Everything starts with a clear brief. The more detail you provide, the fewer revisions you will need later. Share:
- The product: dimensions, weight, fragile points and surfaces that must not be touched
- Sample or 3D file: a physical sample, a drawing or a CAD file (STEP and IGES are common formats)
- Protection needed: drop, vibration, compression or moisture exposure
- Volume forecast: first order quantity and expected annual demand
- Application: food contact, medical, electronics, cosmetics and so on
- Shipping method: parcel courier, pallet or full container
Step 2: Feasibility and Process Selection
The engineering team reviews your brief and decides several things:
- Which process suits the product. Thick-wall (dry-press) products work well for heavy, protective packaging. Thermoformed (wet-press) products suit precise, smooth, premium items. Read more in wet-pressed vs dry-pressed molded pulp.
- Draft angles and wall thickness. Molded pulp needs tapered walls so the piece releases from the mould. This affects how deep and how tight the cavity can be.
- Cavity count and layout. This balances tooling cost against production speed.
At this stage you may receive suggestions to improve manufacturability or lower material use. These suggestions are usually worth accepting, because they can cut both weight and price.
Step 3: Design and 3D Modelling
The team creates a 3D model of the packaging with your product inside it. You will typically receive:
- A 3D render or CAD file
- A 2D drawing with key dimensions and tolerances
- Notes on any changes proposed to your original idea
Review this stage carefully. Changes at the design stage cost almost nothing, while changes after the mould is cut are expensive and slow.
Step 4: Design Approval and Quotation
Once you approve the design, you receive a quotation covering tooling cost, unit price and MOQ. Our price guide explains how to read these numbers. You then confirm the order and pay any agreed tooling advance. Put the key specifications, tolerances and certifications in writing at this point.
Step 5: Mould Making
The mould is machined, usually in aluminium or another metal, and then finished and polished. For thermoformed products, both the forming mould and the pressing tools must be made and aligned. Mould surfaces contain fine holes or mesh so that water can drain through during forming.
Typical duration: two to five weeks, depending on complexity. Simple moulds are quicker, while multi-cavity or high-precision moulds take longer.
Step 6: Trial and Sampling
Once the mould is ready, the manufacturer produces trial samples and checks:
- Fit with your product
- Wall thickness and weight
- Surface finish
- Dimensional accuracy
- Drying behaviour and warpage
Minor adjustments to the mould or process settings are common at this stage. This is normal and is exactly why sampling exists.
Step 7: Sample Approval
Physical samples are shipped to you by courier. Test them with the real product and, if possible, run shipping tests. For guidance, see our article on drop testing and ISTA standards. Then respond with one of three outcomes:
- Approved: move to mass production.
- Approved with comments: small changes and possibly a second sample round.
- Rejected: rework required, with clear feedback.
Always give feedback in writing, with photos, so nothing is lost or misunderstood.
Step 8: Pre-Production and Mass Production
After approval, the manufacturer books production capacity, orders raw material and runs your first order. Quality checks normally include weight, dimensions, moisture content and visual inspection. Products are then dried, counted, packed and prepared for shipping. Ask for a pre-shipment inspection report if the order is large or your product is high value.
Typical duration: two to four weeks for the first production batch, depending on quantity.
Step 9: Packing, Documentation and Shipping
Molded pulp is bulky, so efficient packing matters. Nested stacking reduces carton count and container space, which directly lowers freight cost. Export documents must also be ready before the goods leave the factory. See our guides on export documentation and FOB, CIF and EXW terms.
Realistic Overall Timeline
These are indicative ranges, so please replace them with your own figures:
| Stage | Typical time |
|---|---|
| Brief and feasibility | 2 to 5 days |
| Design and approval | 1 to 2 weeks |
| Mould making | 2 to 5 weeks |
| Trial and sampling | 1 to 2 weeks |
| Sample shipping and approval | 1 to 2 weeks |
| First production | 2 to 4 weeks |
| Total | roughly 8 to 16 weeks |
Delays usually come from slow design approvals, late sample feedback or changes to the product itself, rather than from manufacturing.
Common Mistakes to Avoid
- Sending incomplete information. Missing dimensions lead to rework.
- Changing the product after mould approval. Even a small change to your product may require modifying the mould.
- Ignoring draft angles. Perfectly vertical walls cannot be moulded.
- Not testing samples with the real product. Fit is only proven by real use.
- Skipping shipping tests. A tray that fits perfectly may still fail in transit.
- Choosing on price alone. The cheapest mould may not last your full volume.
How to Speed Things Up
- Provide a CAD file at the very first step.
- Assign one decision-maker for all approvals.
- Ship your real product sample early.
- Agree specifications, including certifications, in the brief.
- Give feedback quickly and in writing.
- Order any needed test samples in parallel with mould making.
Conclusion
Custom mould development is a structured process, and understanding each step helps you plan launch dates and avoid costly changes. Most projects take around two to four months from brief to first shipment. To start your project, share your product details with Aavadh Exports, and our team will guide you through every stage, from CAD to container.